The Passionate Pursuit of Delight

Course: Appetizers Page 1 of 3

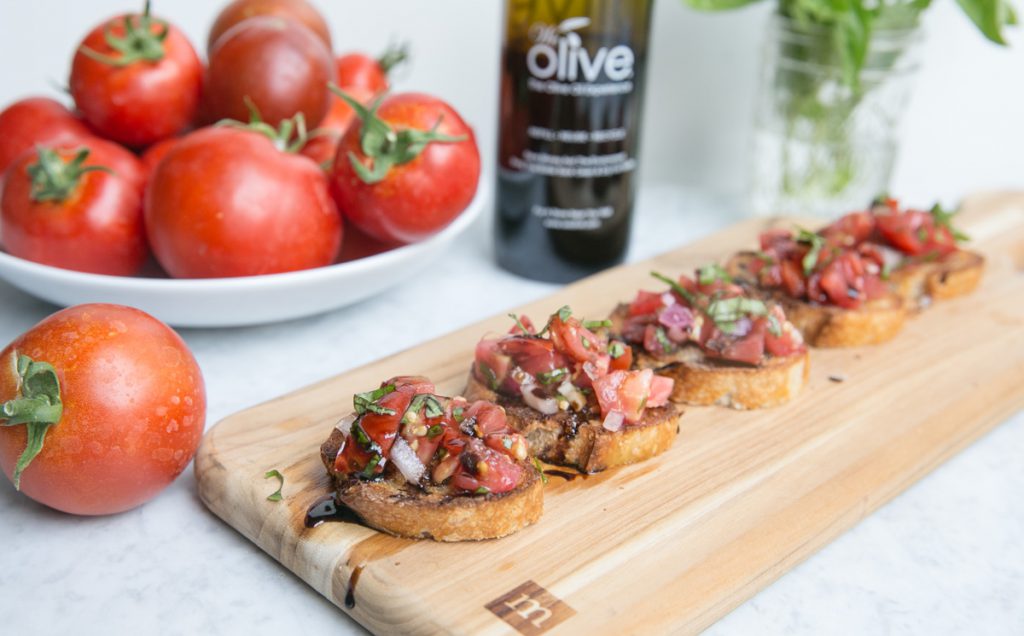
Tomato Bruschetta with Aged Balsamic Drizzle

Bruschetta Aged Balsamic Drizzle-9

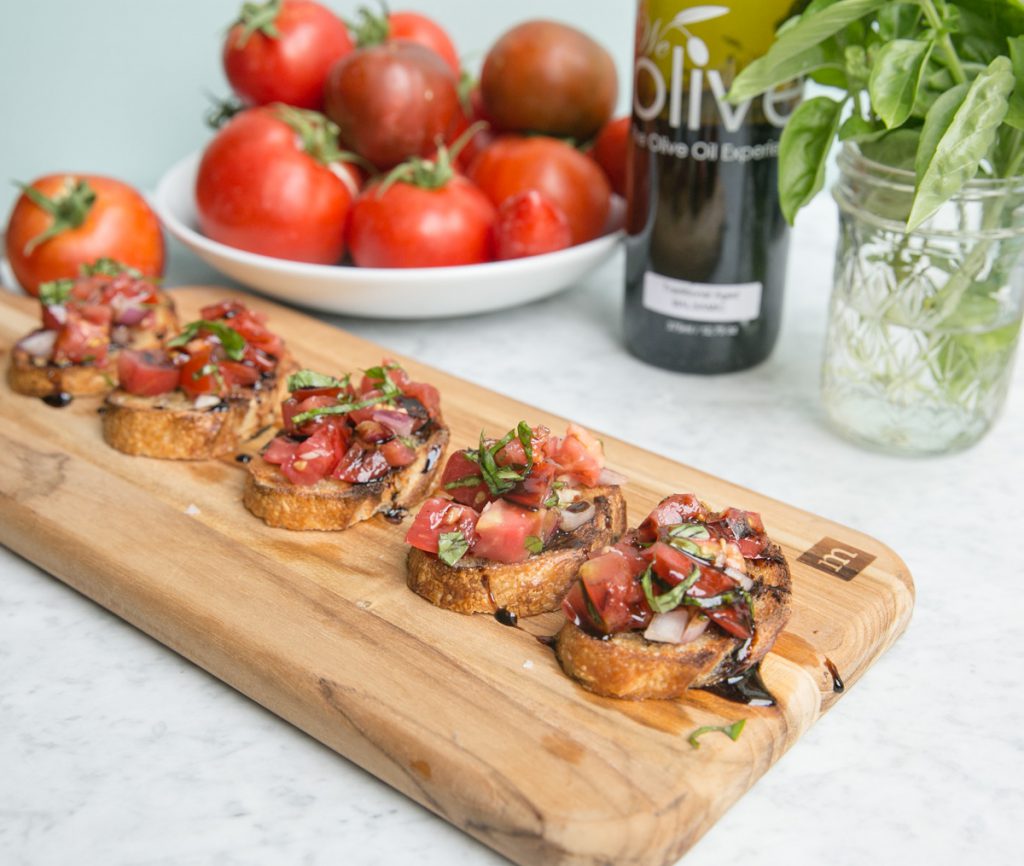
One of my favorite things to do with a bowlful of garden tomatoes is to make tomato bruschetta with an aged balsamic drizzle. Sweet, juicy tomatoes flavored with shallots and garlic atop of a crispy slice of baguette. Bruschetta is the garden’s gift to people who love to snack.

I don’t recommend making bruschetta with store-bought tomatoes, they just don’t have a desirable flavor and texture. You might be able to get away with using the little grape tomatoes if you are desperate for bruschetta when tomatoes aren’t in season. But, I typically only pull this recipe out during the summer months.
Bruschetta Aged Balsamic Drizzle-5

Bruschetta is a quick and easy appetizer to serve with drinks or as a starter served with soup or salad. Much of this recipe can prepped ahead of time. Bruschetta can be assembled just before serving or I like to set up bruschetta bar and let my guests assemble their own.

How to Make Bruschetta

Once you’ve chopped the tomatoes, the other veggies and seasonings, the bruschetta mixture should sit in the fridge for a while. This will allow the flavors to develop. The next step is to make the balsamic reduction. The drizzle of balsamic vinegar adds a tangy sweetness to the tomatoes. Reducing balsamic vinegar on the stove top in a small saucepan until syrupy is easy and yields a delicious result. If you haven’t tried making it, do it! You won’t be disappointed.

Bruschetta Aged Balsamic Drizzle-9

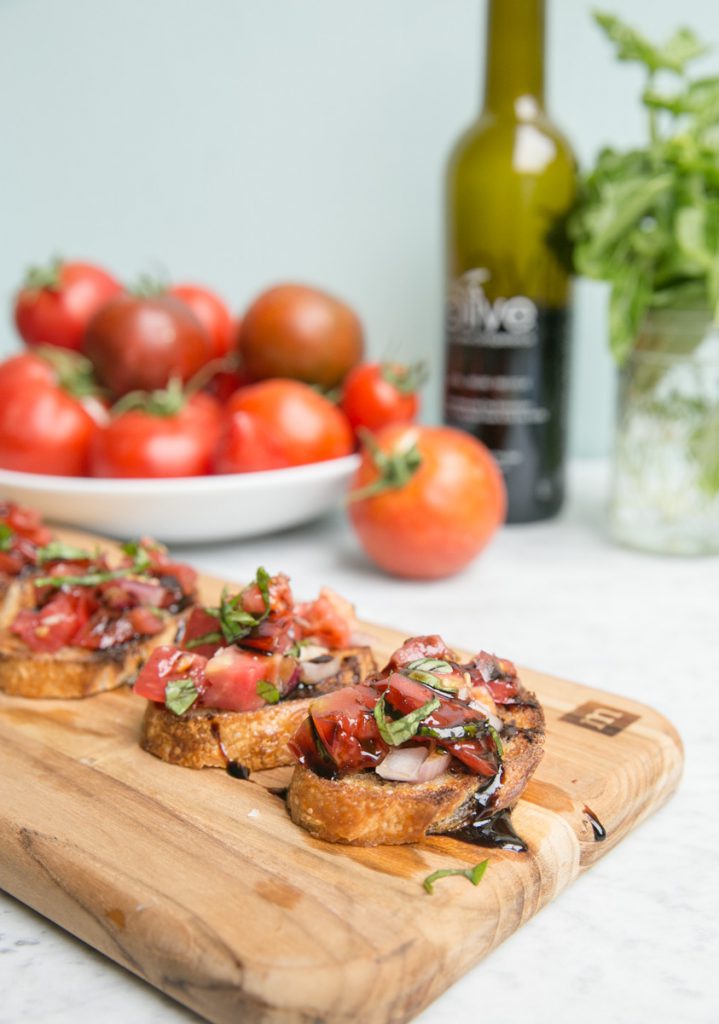
So, the clock is ticking on garden tomatoes…..tick, tick, tick! So, before they are gone, grab a gorgeous baguette, slice it up, brush the slices with a little olive oil, salt, and pepper. Broil or grill until golden and crispy. Top with tomato mixture, and a drizzle of the balsamic reduction. Consume and repeat!

If you want to understand what makes a good French baguette then check out this short video.

Other appetizer recipes you  may want to check out:
Bruschetta Aged Balsamic Drizzle-3

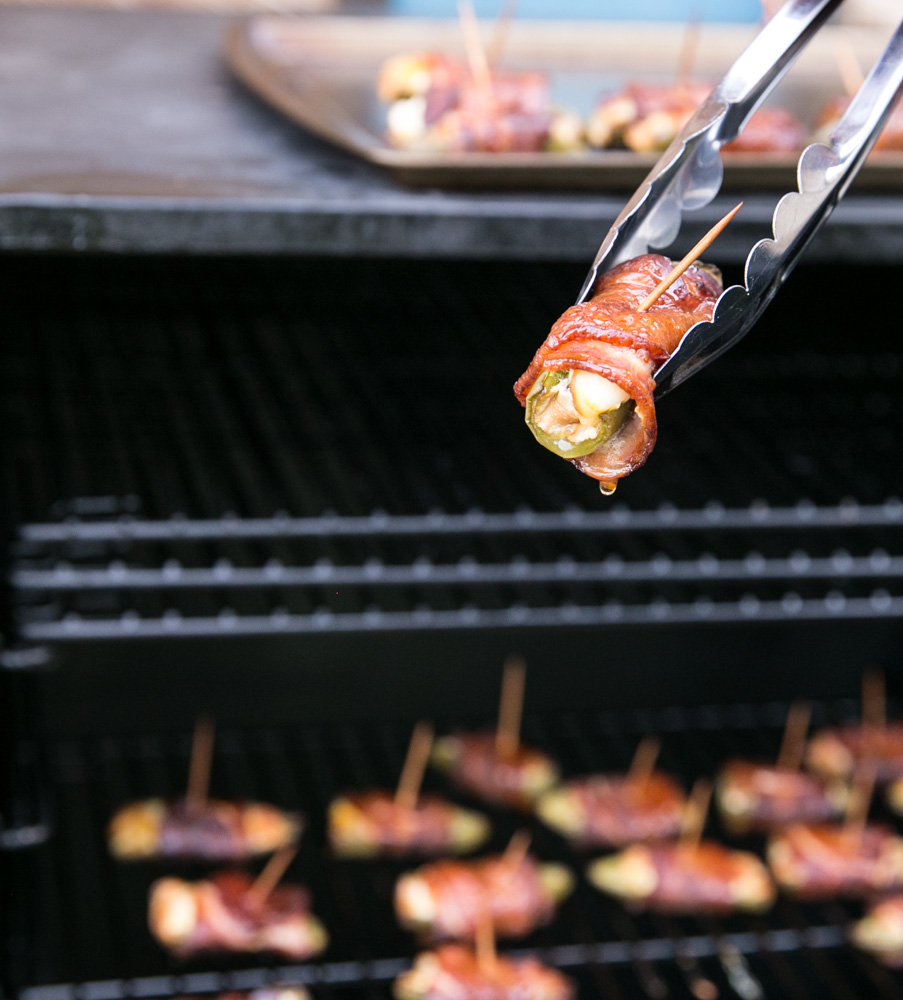
Smokey Sweet Jalapeno Poppers with Mango

Smoky Sweet Jalapeno Poppers with Mango on a sheet pan

Can I get a hell yeah that summer is finally here? Once the weather turns warm all I want to do is be outside. And one of the things I love doing outside is cooking. These Smoky Sweet Jalapeno Poppers with Mango are a delectable bite which can be made outside in a smoker.

Sweetie and I spend a lot of time in his little rustic A-frame cabin in the mountains. It’s glorious up there except for a few weeks each summer when temperatures soar and the cabin which has no air-conditioning becomes incredibly hot. So, all cooking that happens takes place outdoors as to not heat up the kitchen. We have a fairly well-equipped outdoor kitchen which includes a BBQ grill, a flat-top grill, a smoker, and a camp stove.

These Smoky Sweet Jalapeno Poppers are little mouthfuls are spicy, sweet, salty, and creamy. We have made jalapeno poppers in so many different ways but this is our favorite. Slice the jalapenos vertically from stem to end and scrape out the seeds and ribs. I use a spoon to scrape out the seeds and ribs but be sure to put the spoon directly into the dishwasher or hand wash. Don’t make the same mistake that I have made and take a taste of the filling from the spoon or worse yet, offer someone else a taste. Learn from my mistakes. Fill with a delicious cheesy filling, wrap in bacon and cook in smoker until the bacon is crispy.

Smoky Sweet Jalapeno Poppers with Mango coming out of the smoker

This iteration of jalapeno poppers includes diced mango and red onion in the cream cheese mixture. The mango is what gives the popper the hint of sweet. If you don’t like mango or can’t find ripe ones, you can swap out another fruit like pineapple. The red onion add a little bite, if you prefer a milder onion flavor you can swap with a shallot or green onion.

We have found that it is best to avoid thick cut bacon for poppers. Regular thinner sliced bacon cooks quicker and will crisp up without worry about overcooking the jalapeno.

If you like cooking outside, you might want to check out these recipes:

Smoky Sweet Jalapeno Poppers with Mango Vertical Image

Everything Pretzel Bites

Everything Pretzel Bites-1

I don’t often make bagels at home but I do make pretzel bites which are small mouthfuls of soft pretzel deliciousness. Perhaps it’s because I am indecisive or that I cannot commit to just one bagel topping but everything bagels have always been my flavor of choice.

If you aren’t familiar with everything bagels, they are topped with a combination of ­­­poppy seeds, sesame seeds, dried garlic, dried onion, and coarse salt. You can make your own everything seasoning mix or stop by Trader Joe’s and pick up their ‘Everything but the Bagel’ seasoning mix.

Until I discovered the Trader Joe’s seasoning I typically topped by pretzel bites with coarse salt. But, now when I make them I sprinkle them liberally with everything seasoning mix. If you don’t have a Trader Joe’s near you, then here is a quick video that shows how to make your own everything seasoning mix at home.

The pretzel-making process may sound daunting but it really isn’t that bad. Once you set up an assembly line the process isn’t really that bad. I use my stand mixer to make the dough and just knead with my hands a few times at the end before letting the dough rest in an oiled bowl. Then, section the dough and roll each section into a long rope and cut into bite-sized pieces. A quick dunk into a pot of boiling water with baking soda and those babies are ready for the oven.

Everything Pretzel Bites-3

Unless you live in New York City, it isn’t always easy to grab a good soft pretzel as you are wandering around town. That is why I started playing around with making them myself. Everything pretzel bites are a game time staple during football season.

There is something super satisfying about popping one of these pretzels hot from the oven into your mouth with only a quick detour into a pile of mustard or cheese sauce. But, be warned these everything pretzels are pretty addictive. Even if you think you have made enough you may find that they disappear as quickly as you can churn them out.

How to Make Everything Pretzel Bites

Other finger foods you may be interested in are:

Everything Pretzel Bites

Cheddar and Cranberry Chutney Crostini

Cheddar Cranberry Chutney Crostini 9

It isn’t just the alliteration that I love about these Cheddar and Cranberry Chutney Crostini. I also love how you can transform a few simple ingredients into a festive and delicious bite. These crostini would be perfect when you have friends coming over for a drink or to accompany a pot of soup.

Let’s start at the base. For the crostini you can both buy a baguette and make your own by slicing it up, brushing each slice with a little bit of olive oil on both sides, and seasoning with salt. To crisp up the slices, just pop the slices under the broiler or on a grill for a few minutes be sure to flip during cooking so that both sides are crisp.

Another option is to buy sliced, crisped cocktail toasts at the grocery store. These packages are usually found near the deli section. They are great to have in your pantry and can be topped so many different ways for easy appetizers.

Cheddar Cranberry Chutney Crostini-12

Once you’ve decided on your crostini base your next choice will be to consider the cheese.  I know it says cheddar in the title but there are so many things to think about! Firstly, do you like mild, medium, or sharp cheddar? I love sharp cheddar and think it pairs well with the cranberry chutney. But, if you prefer mild then by all means, go with mild cheddar. I used white cheddar when I took these photographs because I thought it would look pretty but yellow cheddar is perfectly fine.

Now to the fun part! Chutney. I am not going to lie. I love chutney. I always have some at the ready to add to a cheese plate or add some zing to grains or rice side dishes. Chutney is easily made by combining your ingredients (typically, fruit, nuts, and spices) into a small saucepan and simmering until the fruit softens and the mixture of flavors comes together. In this case, the cooking time on the chutney is about 15 minutes.

How to Make Cheddar Cranberry Chutney Crostini

Cheddar Cranberry Chutney Crostini-2

The last step is an assembly job. Line a baking sheet with parchment and place the crostini on the parchment. Add a slice of your delicious cheddar to the crostini and pop into the oven until the cheese melts. Remove from the oven and add a dollop of chutney to each crostini. You can finish it off with a bit of parsley (you can parsley your crostini a little less aggressively than I did if you wish).

Some other appetizer recipes that you might want to check out:

Cheddar Cranberry Chutney Crostini Pin

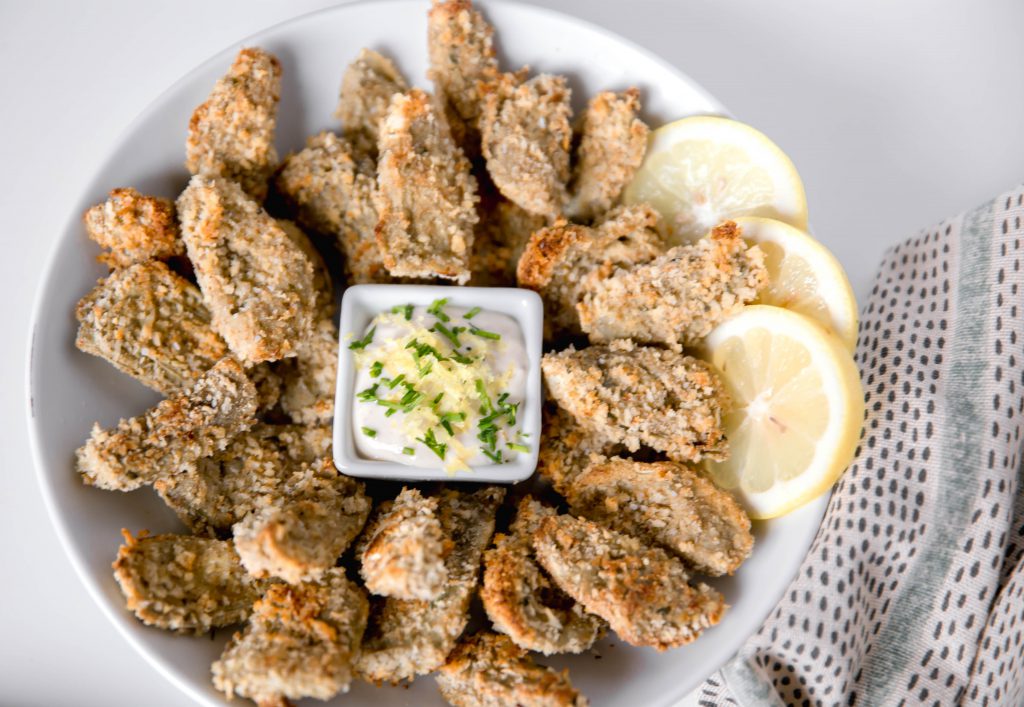
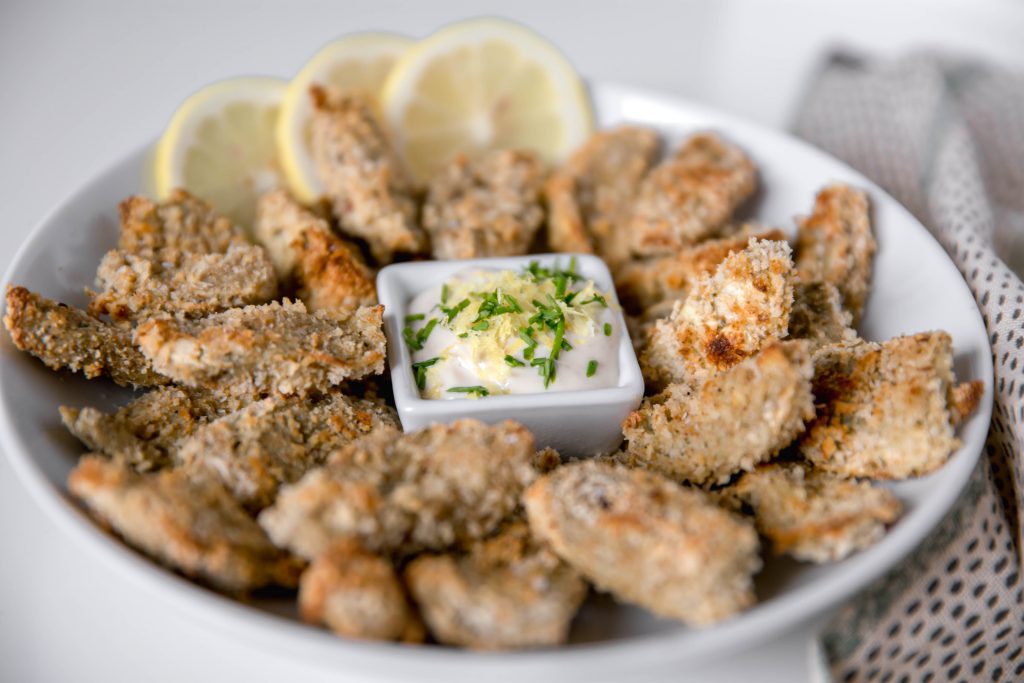
Crispy Artichoke Hearts with Lemon Aioli

Crispy Artichoke Hearts with Lemon Aioli

Artichokes have always been part of my family’s holiday traditions. As long as I can remember, my Grandparents would fly into town for Thanksgiving and my Grandmother would always make stuffed artichokes. Whole artichokes were ‘stuffed’ with breadcrumbs, parmesan cheese, and seasoning then steamed for 45 minutes. So, these crispy artichoke hearts with lemon aioli are a nod to her and my family’s Italian ancestry. Equally as delicious but much quicker to prepare and cost effective because you use frozen artichoke hearts instead of fresh whole artichokes.

Don’t get me wrong, I love whole artichokes and still cook them from time to time but I have fallen for this preparation of crispy artichoke hearts with lemon aioli as one of my go to appetizers. Another thing that I love about this recipe is that you can keep all the ingredients on hand fairly easily so no running to the store at the last minute because your friends are doing a pop in this evening for a drink. Doesn’t that sound good?

Crispy Artichoke Hearts with Lemon Aioli 3But first, I want to talk for a minute about growing artichokes in your garden. Have you grown them? Have you seen them growing in someone else’s garden? One of my friends had a neighbor who had them in her garden and they were rather magnificent. Check out the video below to see what they look like in the wild. Well, not the wild but not in the grocery store or Costco.
Okay, back to crispy artichoke hearts with lemon aioli. I keep a bag or two of artichoke hearts in my freezer all the time. With a simple egg wash, a dunk into bread crumbs, a quick bake in the oven, you can have an elegant appetizer ready in less than thirty minutes. Be sure to check out my recipe for Asparagus and Artichoke Frittata if you want more artichoke recipes.

You will also want a dipping sauce for these crispy bites. There are two sauces that I love to serve with crispy artichoke hearts. One is a lemon aioli which is luscious and a great companion for the artichokes. You can also serve them with marinara sauce which is a little bit lighter than aioli.

How to Make Crispy Artichoke Hearts with Lemon  Aioli

Whether you decide to dip in aioli or marinara sauce or both, let me know if you try these crispy artichoke hearts. You can be sure that I will be serving these up this holiday season.

Crispy Artichoke Hearts with Lemon Aioli

Maple Walnut Crostini

Maple Walnut Crostini with Goat Cheese-2Note: This post contains affiliate links*

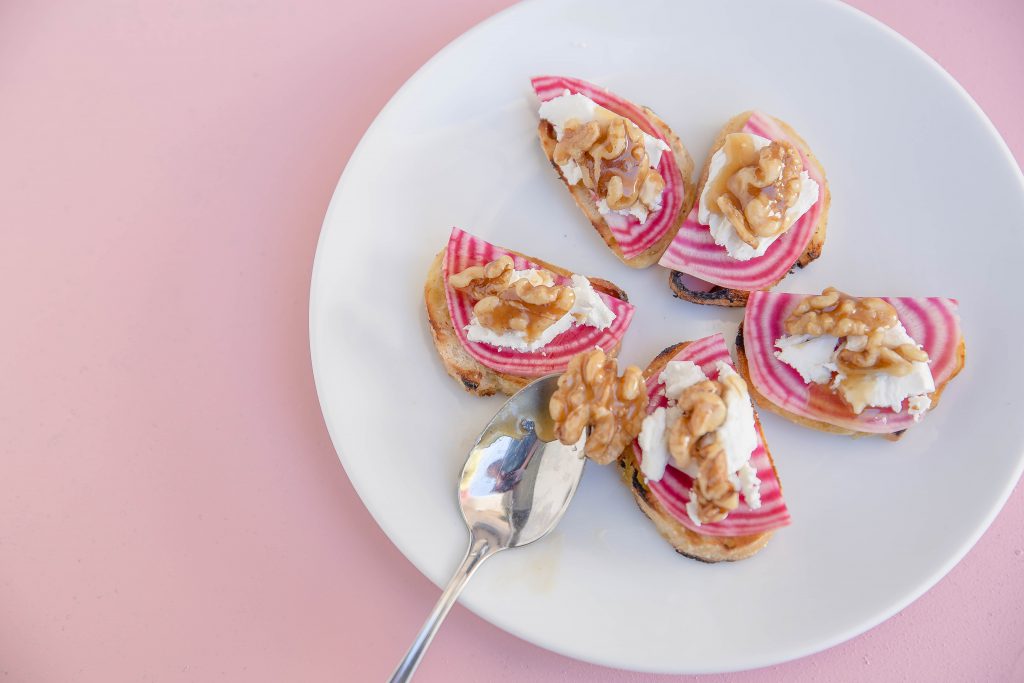
Crostini are always on my appetizer short-list when I am planning a party. For those that aren’t sure, crostini are an Italian appetizer consisting of toasted bread with toppings. Crostini are great appetizers because you can toast the bread and make the toppings ahead of time. As the holiday season is upon us, I wanted to incorporate some seasonal flavors into the topping. Thus, the Goat Cheese and Maple Walnut Crostini was born!

Let me lay down the process of making these crostini for you. First, you are going to make a batch of maple walnuts. You can do this step a few days in advance of when you want to serve the crostini. To make the maple walnuts, you will combine butter and maple syrup with spices. After adding the walnuts you will stir to coat and the sauce is reduced. You will want to cool the walnuts on a parchment-lined baking sheet. Be careful transferring the walnuts from the pan to the baking sheet. They are hot! I speak from experience.

Maple Walnut Crostini with Goat Cheese-2

The second step is to slice the Chiogga beets very thinly. Chioggas are sometimes called candy cane beets, not because of their flavor but because of their beautiful red and white striped interior. You can peel and slice the beets the day before you plan to serve the crostini. If Chiogga beets are your thing (as they are mine) you may want to check out my Smoked Salmon Beet Bites too.

If you have a mandoline, slicing the beets very thinly is a snap. I love, love, love my mandoline (to be clear, I am talking about a Japanese-style slicing tool not the musical instrument). I use it all the time when I need food sliced very thinly or very evenly or both! The XOX Brand Mandolin is my favorite. It is super affordable, dishwasher-safe, and easy to store. A word of caution: the V-shaped blade in mandolins are very sharp and you should always use the included food holder to protect your fingers from the blade. Again, I learned this the hard way. Twice.

The last do-ahead tip I want to share is to make the crostini up to three days before you want to serve them. I typically buy a baguette for crostini. I like the small size of the bread. It is the perfect bite. Slice your baguette into about 1/2’’ slices. Drizzle the slices of baguette with olive oil and a sprinkle or salt and pepper.

You can either make your crostini on the grill or under the broiler. Whichever way you decide to make your crostini, be sure to keep your eye on them. They can go from just about there to burnt mess in no time at all.

How to Make Goat Cheese and Maple Walnut Crostini

Once you have all your components ready, you just need to assemble the crostini shortly before you want to serve. Place crostini on a platter, place one slice of Chiogga beet on the crostini, top with a dollop or slice of goat and top with a maple walnut. I recommend taking the goat cheese out of the refrigerator an hour before you want to prepare the crostini.

Maple Walnut Crostini pin

Hello Fun Seekers is a participant in the Amazon Services LLC Associates Program, an affiliate advertising program designed to provide a means for sites to earn advertising fees by advertising and linking to amazon.com and affiliated sites.Please note that some links on this blog are affiliate links and I will earn a small commission if you purchase through those links.  It is also important to note that your price remains the same and there is no extra cost to you.  Thank you for your support of Hello Fun Seekers!

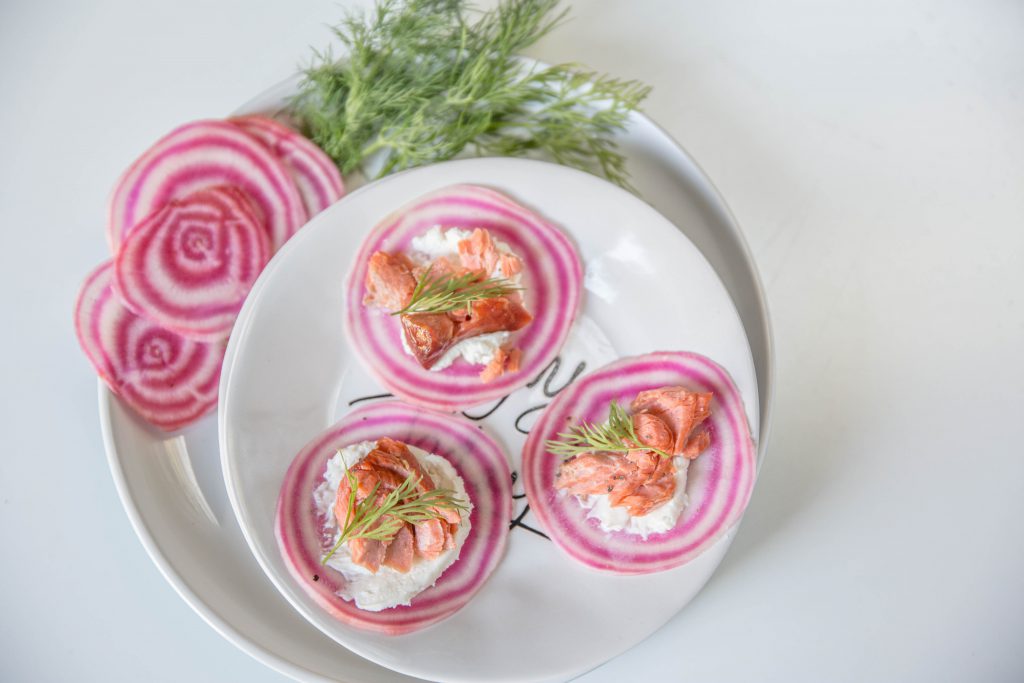
Smoked Salmon Beet Bites

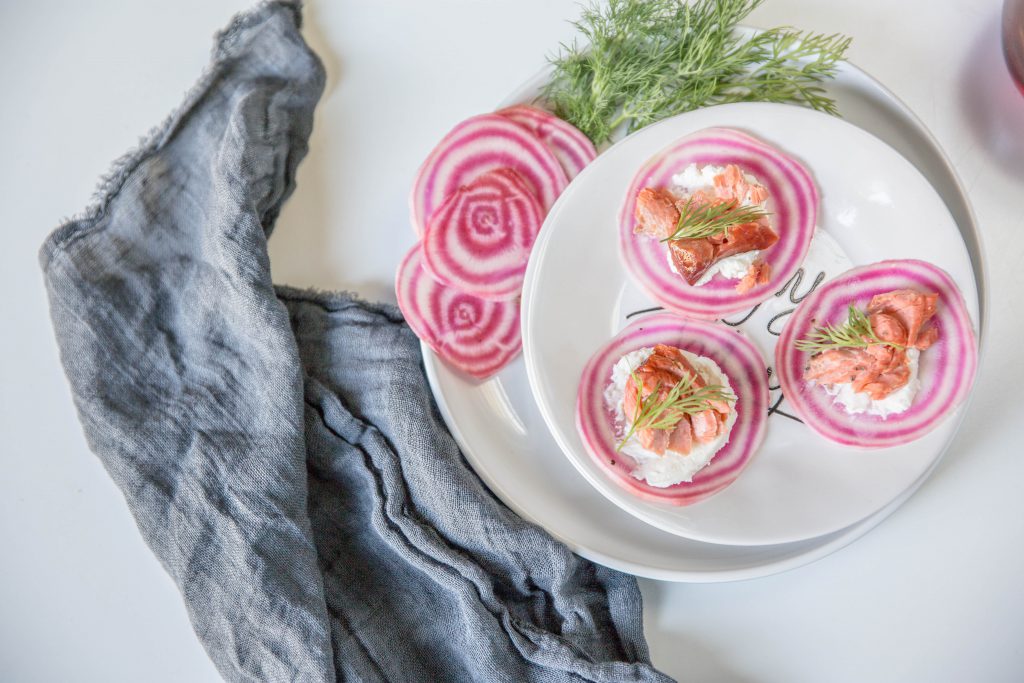
Smoked Salmon Beet Bites

This recipe is sponsored by Alaska Seafood Select

Do you know what you need in your life? You need five minute appetizers. Tasty little bites that you can throw together when friends stop by or a little something to whet appetites before a dinner party. These smoked salmon beet bites are killer and they take five minutes to assemble.

I swear, even if you think you don’t like beets these paper-thin slices of Chioggia beets are mild in flavor and high on crunch. Chioggia beets are sometimes called candy cane beets because of their distinctive pink and white stripes. The thinly sliced beet is not only beautiful but practical too. The beet slice is sturdy enough to hold a little schmear of whipped cream cheese, a pinch of smoked salmon, and an herby cap like dill or parsley.

Smoked Salmon Beet Bite Close up

Viola! Could anything be easier? Plus, this appetizer is a bit of show-stopper, don’t you think? If you really cannot wrap your head around slices of beet, you could also use cucumber slices or crackers.

But, let’s get back to the flavor bomb in this appetizer. Smoked salmon is one of my favorite ingredients to have on hand. It keeps well in the refrigerator and can be frozen. The smoky salty flavor packs a punch in so you don’t need to use much to impart terrific flavor.

Smoked Salmon Beet Bites

If you will indulge me a little tangent, I want to tell you about a fun and interesting event that I went to last week. Nick Lee, fisherman and owner of Alaska Select Seafood was in town. He shared his story about how he became a fisherman and his passion for fresh, sustainable seafood was evident.

I learned that 2/3 of the salmon that US consumers eat is farmed rather than wild. I also learned that 90% of the seafood that Americans eat is imported from other countries. He brought samples of salmon, smoked salmon, black cod, and snow crab for us to try. If you want to know more about Nick and Alaska Select Seafood check out this video.

As you may know, seafood is one of my favorite things to eat. So, I was in heaven getting to try the seafood that Nick brought to the event. Susie from the blog, Hey Grill, Hey, was on hand demonstrating her favorite recipes using salmon, shrimp, and black cod.

At the end of the evening, we were given swag bags that contained two portions of sockeye salmon and two portions of smoked salmon. With these goodies in hand, my challenge became how to create a recipe that showcases the beautiful wild salmon. Thus, the smoked salmon beet bite was born.

How to Make Smoked Salmon Beet Bites

Smoked Salmon Beet Bites Pin

This post was created in partnership with Alaska Seafood Select. I was given salmon and smoked salmon and compensated to develop a recipe using Alaska Seafood Select’s product.

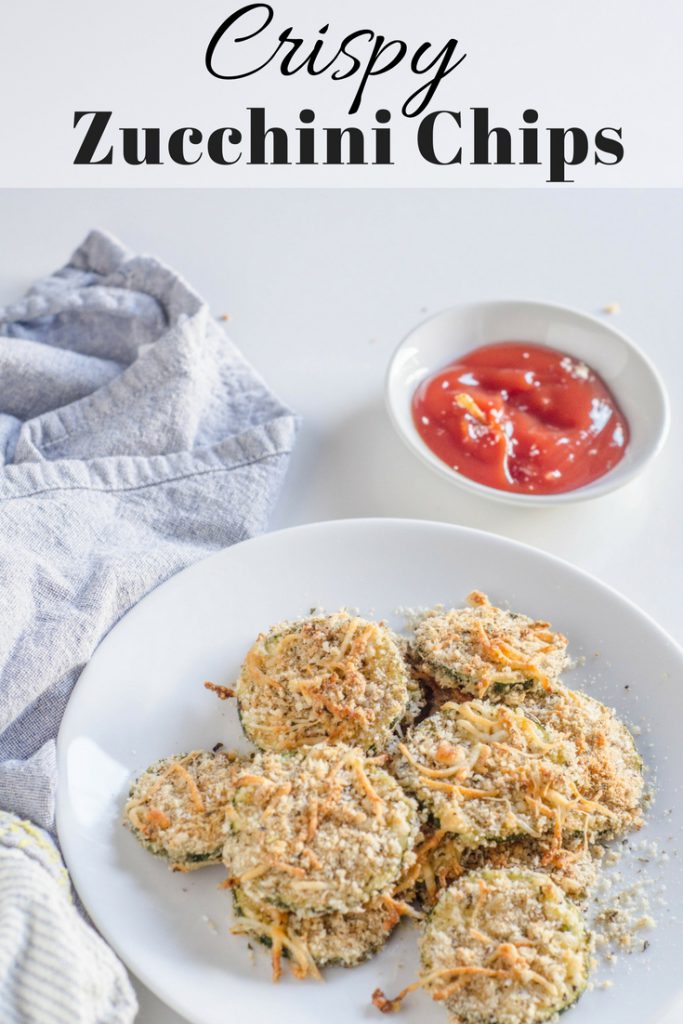
Crispy Zucchini Chips

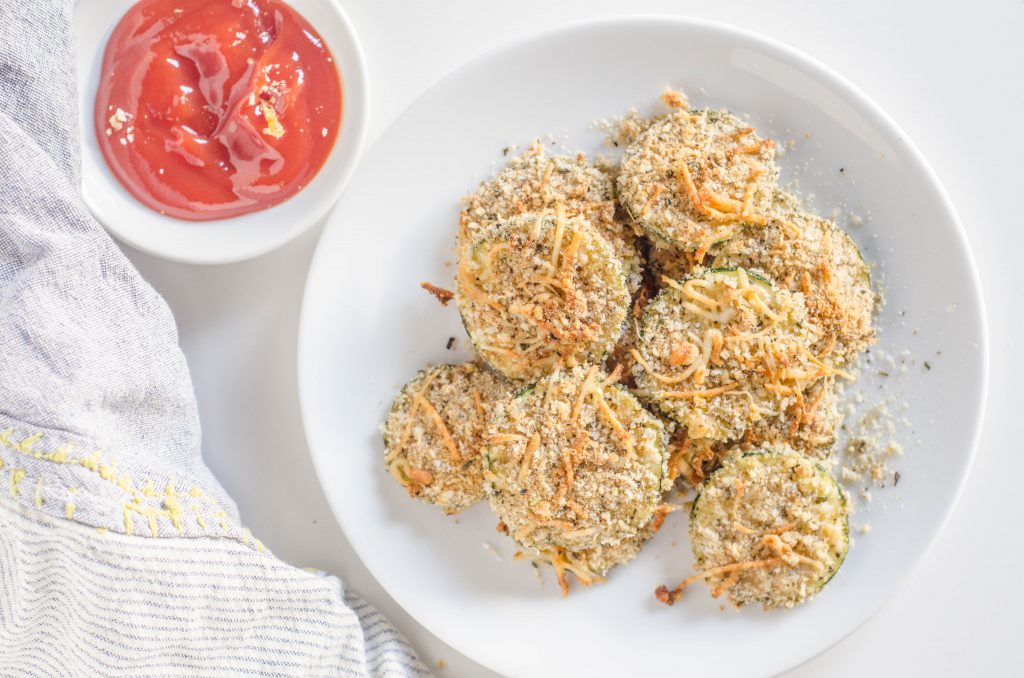
Crispy Zucchini Chips

Oh, garden, my garden, let me count the ways that I love thy bounty. Seriously, am I the only one who waxes poetic about the amazingness of a humble garden? I don’t think I will ever get over the magic of planting a few seeds in the ground, providing water regularly, and coming home each day to magic. Absolute and total magic. Zucchini, tomatoes, fresh herbs, greens, and beans delight me daily during the summer months.

I am a vegetable lover through and through and I never tire of summer and the incredible food that I can grow with minimal effort and expense. Picking veggies and herbs then walking a few steps into my kitchen is what fuels my fire of local and seasonal food. I bank the sights, smells, and sounds of summer while weeding and watering, to draw upon through winter. But, I know not everyone feels this way about vegetables and that some of you may face challenges of cooking for people or kids who proclaim to hate vegetables. Well, I have an idea for you.

Want to sneak some additional vegetables into your family’s meals? Then I highly recommend making theses crispy zucchini chips to accompany your next burger or BLT. You will love these baked zucchini chips. The coating is crispy, light, and full of flavor. The beauty is that they are baked not fried. Plus, your non-veggie loving family members will eat them. I promise.

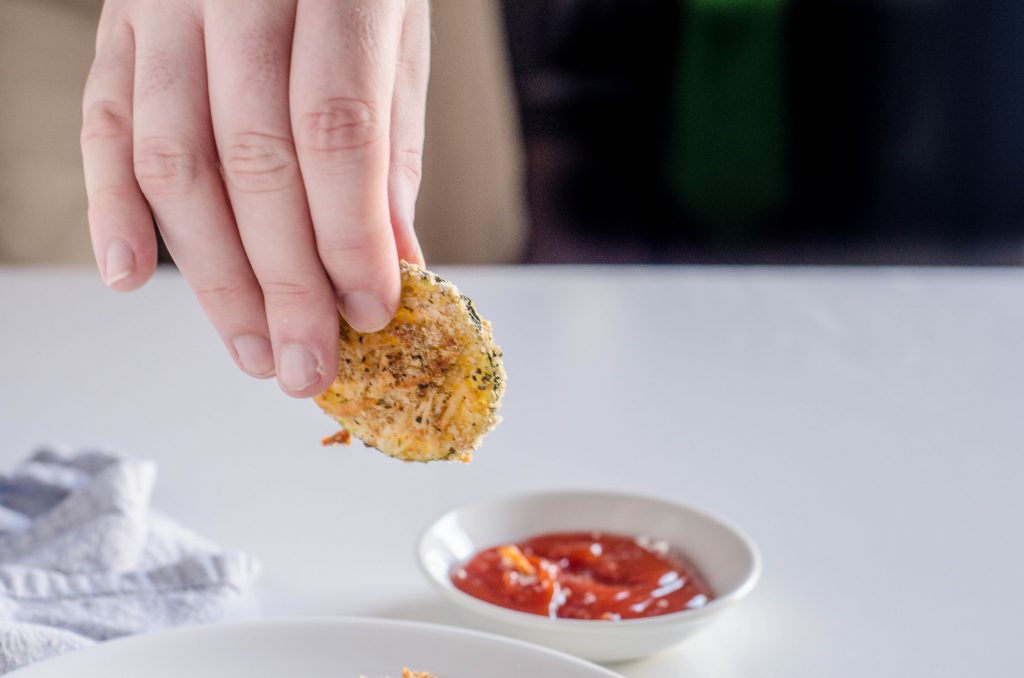
Crispy Zucchini ChipsEven my vegetarian, non-vegetable loving son will devour these Crispy Zucchini Chips. So, when zucchinis are coming on strong I make crispy zucchini chips at least once per week. If you or your kids like to dip, you can serve crispy zucchini chips with ketchup, marinara, ranch dressing, or my favorite, Green Goddess dressing.
Also keep in mind, as I have mentioned before, I use a mandoline to slice the zucchini evenly. The OXO brand that I have lets you set the slices to the exact thickness that you want. To make the coating extra crispy, I use a combination of seasoned bread crumbs and panko bread crumbs which can found with the ethnic food aisle of the grocery store. To boost the flavor of the coating, add some salty parmesan and a bit of kick from cayenne pepper.

I like to use zucchini that are on the small side because they are tender and don’t have many seeds. I hope you like this recipe and you may find that you don’t want to give your extra zucchinis away.

How to Make Crisp Zucchini Chips

Crispy Zucchini Chips

Feta and Roasted Red Pepper Dip (Htipiti)

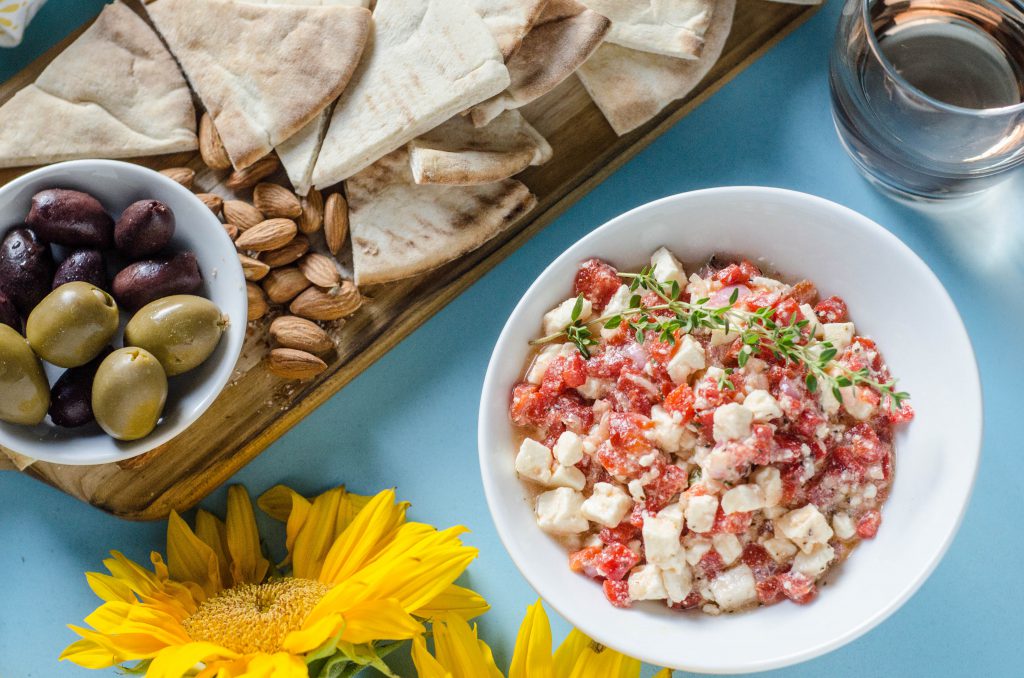
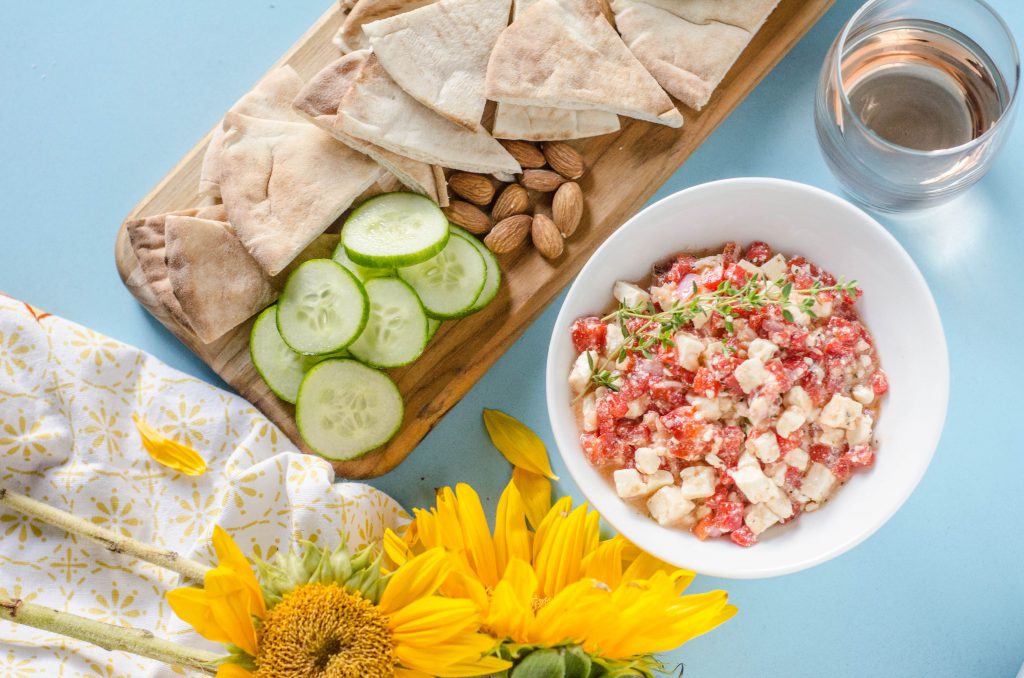
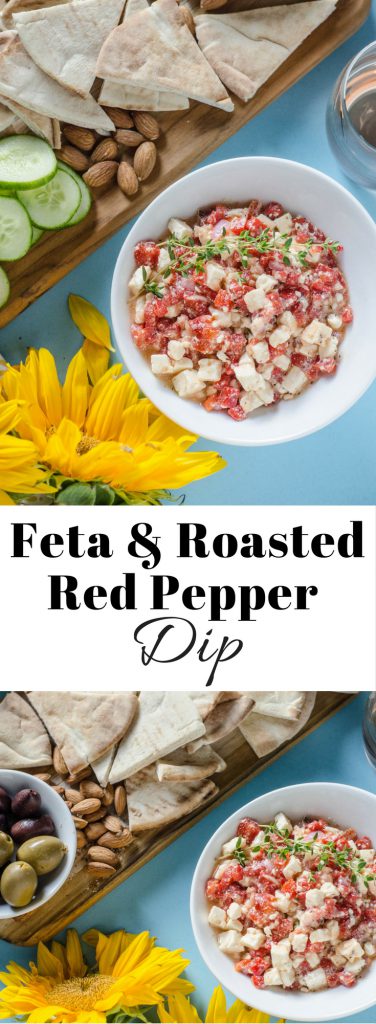
Feta and Roasted Red Pepper Dip

You want easy and healthy recipes, right? Well, I am happy to tell you that you will love this recipe. This feta and roasted red pepper dip comes together very quickly. You only need to give a quick chop to the roasted red peppers, shallot, garlic, and feta then combine the rest of the ingredients in a bowl. You will be sitting outside on your patio with a delicious snack and glass of wine in no time at all!

If you travel to Washington DC, you may have heard of or eaten at Zaytinya, one of chef Jose Andres’s many fine restaurants. Zaytinya serves Mediterranean small plates and if you have the chance to go, do it! The food is delicious. But, if your travel plans do not include a trip to DC in the near future, you can still experience a taste of Zaytinya in your own kitchen.

Feta and Roasted Red Pepper Dip

This dip would be perfect on a mezze platter. Mezze refers to a collection of small plates that are served with drinks. All you need is a large platter or cutting board that you will add fresh pita or pita chips, cucumber slices, hummus, olives, and the feta and roasted red pepper dip. If you feel like preparing a second small dish, I would recommend these za’atar roasted tomatoes and perhaps some tzatziki, a yogurt cucumber sauce.

How to Assemble a Mezze Platter

Check out this video if you need a little inspiration on putting together a mezze platter. When I need inspiration, I love looking at posts from Tieghan of Half-baked Harvest. She is masterful at creating boards like this Mediterranean Platter. I also think Gaby’s Mezze Platter from What’s Gaby Cooking is lovely.

Furthermore, serving a mezze platter is a wonderful way to entertain.  You can think of a assembling a mezze platter much like putting together a cheese board (albeit much less expensive to assemble). Chill a bottle of white wine, open a bottle of red to breathe, and have a few beers in the fridge. All that is left to do is to invite a few friends over.

Feta & Roasted Red Pepper Dip

Za’atar Roasted Tomatoes with Pita Chips

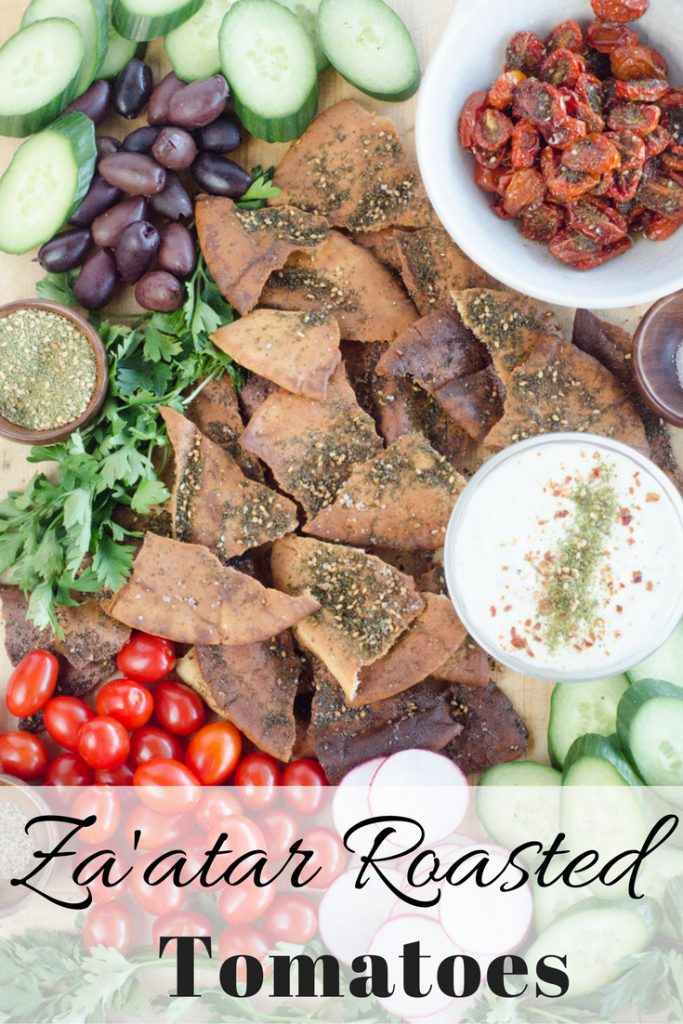
Za'atar Roasted Tomatoes

Za’atar. Doesn’t it just sound exotic? Do not be put off by this unfamiliar Middle Eastern spice mixture. Za’atar is combination of dried herbs like oregano, basil, thyme, and savory, mixed with sesame seeds, sumac, and salt. It is delicious and works perfectly on these za’atar roasted tomatoes!

I used za’atar to season the roasted tomatoes and on the pita chips that I baked for this post. Za’atar is available at Middle Eastern markets or on Amazon. If you are ambitious, you can make your own.


I love the flavors of Middle Eastern food. That love can be traced back to trip to Las Vegas many years ago.  I had a remarkable meal at Neyla, a fabulous Middle Eastern restaurant that sadly is now closed. That night at Neyla, we enjoyed mezze as our meal.  Mezze is an assortment of small plates, think tapas, but with Middle Eastern flavors.

That first experience with Middle Eastern food started a life-long love affair for me. I sought out Middle Eastern restaurants to try in Salt Lake City and in other cities when I traveled. For the record, when in Salt Lake City, I recommend visiting Mazza for an incredible Lebanese feast.

In addition to trying meals at Middle Eastern restaurants, I also began trying to make Middle Eastern foods at home. Back before you could Google a recipe, cookbooks were the main source for exploring the recipes of a new cuisine.

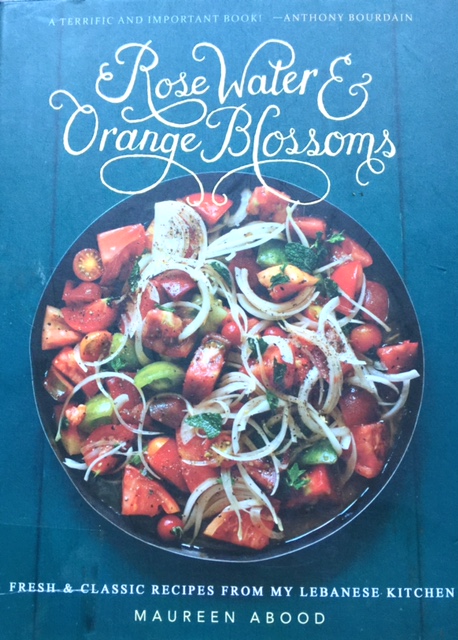
Rose Water and Orange Blossoms

I was inspired to write this post after recently reading the fabulous cookbook Rose Water and Orange Blossoms by Maureen Abood. The mezze section of the cookbook is filled with traditional Lebanese small plate recipes, including a write-up on how to peel chickpeas for super smooth hummus.

As an aside, I actually read this article from Serious Eats on making the smoothest hummus ever and I decided to try it.  The kicker is that the article said that peeling the chickpeas is the essential step that makes the hummus so smooth. So yes, I PEELED the chickpeas, all the while muttering to myself, ‘why the hell am I peeling the chickpeas’? I will be damned if that hummus wasn’t the most incredibly smooth hummus that I have ever made. That being said, peeling chickpeas is rather tedious and time-consuming.

Abood’s method seems more efficient than the one that I used which was standing their peeling them one by one. Next time I make hummus, I will try to her method and let you guys know how it goes.

How to Make Za’atar Roasted Tomatoes

If you enjoy Middle Eastern food, I recommend getting your hands on a copy of Rose Water and Orange Blossoms. However, in the meantime, feel free to give these delicious za’atar roasted tomatoes and baked pita chips a try. You can add a bowl hummus and an assortment of olives and enjoy a wonderful mezze of your own.

How to Make Baked Pita Chips

3 pita breads

3 tablespoons olive oil

½ teaspoon salt

Fresh ground pepper

1 teaspoon za’atar

  1. Preheat oven to 375 degrees.
  2. With pita bread lying flat on a cutting board, split the bread in half horizontally so you have two thin rounds. Repeat with the two other pita breads.
  3. Place rounds on two sheet pans. Place olive oil, salt, pepper, and za’atar into a small bowl. Brush each pita round with olive oil mixture.
  4. Bake until golden. Start checking the pita rounds around 7 minutes.
  5. Remove from the oven and let cool enough to handle.
  6. Gently break up the rounds into pieces.

NOTE: You can also cut the pita rounds into eight wedges before you coat with oil and bake. I prefer the more rustic look of breaking the pitas up into uneven pieces.

Za'atar Roasted Tomatoes

Page 1 of 3

Powered by WordPress & Theme by Anders Norén